Theme Installation
After you purchase and download your theme from Axle Themes, you can choose either of the approaches given below to install your theme.
WordPress Admin Panel
- Log in to the WordPress Admin panel.
- Go to Appearance -> Themes.
- Click Add New.
- Then click Upload Theme.
- Click Browse. Locate zip file of theme in your computer.
- Select zip file and click Install Now.
Manual Installation using FTP
- Unzip zip file of theme to your Desktop.
- Using an FTP client to access your host web server, go to /wp-content/themes/ and upload your new copy of Theme.
- Now, log into the WordPress Dashboard with your login details.
- Go to Appearance -> Themes.
- You will see the theme in the list.
- Click Activate button.
Installing and Activating Plugins
Recommended Plugins
Theme supports some helpful WordPress plugins to enhance your site. Since, Page Builder by SiteOrigin is deeply integrated in the theme to achieve different layouts, please make sure both Page Builder by SiteOrigin and SiteOrigin Widgets Bundle plugins are installed and activated. For other recommended plugins, you should only enable those if you need those for your site. For example, enable WooCommerce only if you are using e-commerce.
To manage plugins, in admin panel, go to Appearance -> Install Plugins.

Theme Demo Content
First, please make sure that One Click Demo Import plugin is installed and activated. To import demo content, in admin panel, go to Appearance -> Import Demo Data.
To get best result, it is recommended to import demo content in fresh WordPress installation.
Theme Setup
After activation of the theme by default your will see the list of posts in home page. You can change home page into sections as shown in the demo. For that you need to setup static front page.
Using Page Builder
Different sections are setup using the widget that is bundled within theme theme and provided by SiteOrigin Widget Bundle.
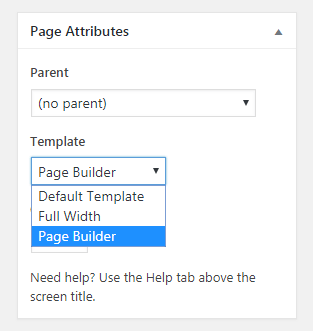
To set up pages Admin panel > Pages > All Pages > Home . In home page edit screen at right side you will see a box Page Attribute. Within Page attribute you will find the option templates . Now chose Page Builder from the dropdown in the option template and save the page.
- Default Template
- Full Width
- Page Builder
After this in the content edit section you will see the Page Builder tab, just click into the tab and begin to add the widgets as per your requirement.
Important : You should place one row for one widget .
Steps to add row:
- Go to Add row:

- Set Row layout to 1 or more and click on insert button.
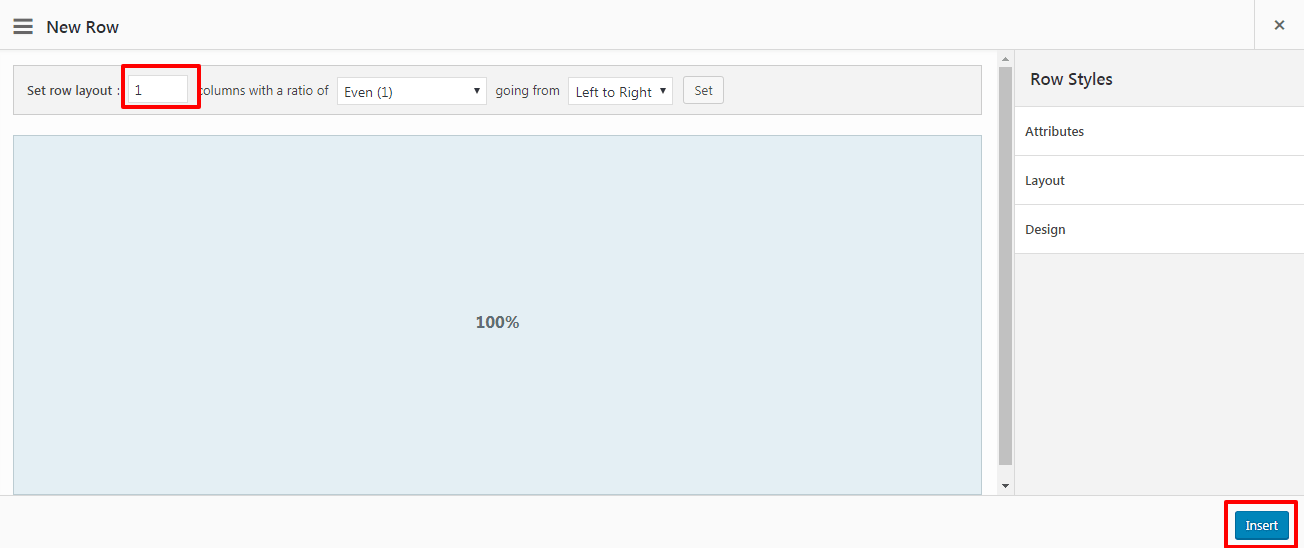
- After adding row, place your required widget in the row.
- Follow above steps for placing other widget in the front page.
Adding Widgets
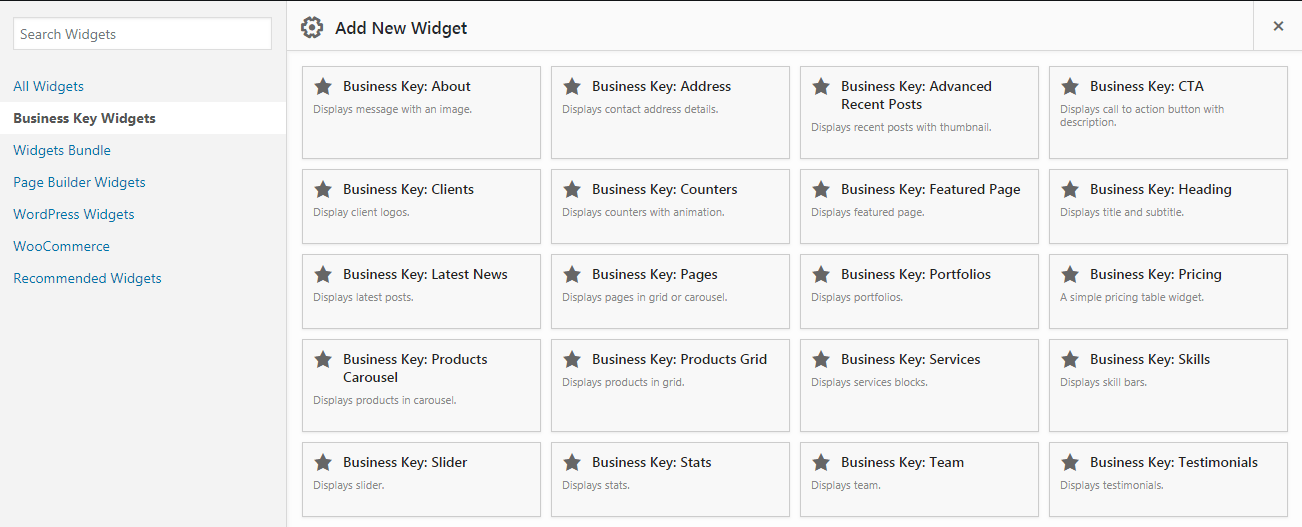
You can find all the available Business Key Widgets in Add Widget -> Business Key Widgets.

Custom Widgets
Theme provides several custom widgets.
- About Widget
- Address Widget
- Advance Recent Posts Widget
- Clients Widget
- Counter Widget
- CTA Widget
- Featured Page widget
- Heading Widget
- Latest News Widget
- Pages Widget
- Portfolios Widget
- Pricing Widget
- Products Carousel Widget
- Products Grid Widget
- Services Widget
- Skills Widget
- Stats Widget
- Slider Widget
- Team Widget
- Testimonials Widget
Customize Row
If you click on the setting icon (to your top-right most corner of builder) you can see:
- Edit Row
- Duplicate Row
- Delete Row
Within Edit Row you can see new panel where you can change the row’s attributes from options available to your left like Attributes, Layout, Design. Also you can add background image, change colors, layouts, use padding and margin, give class and id, etc.
You can see the same options to edit the widget as well. Options like:
- Edit
- Duplicate
- Delete
Go to Edit and you will see the same editing panel like in row editing.
Site Identity
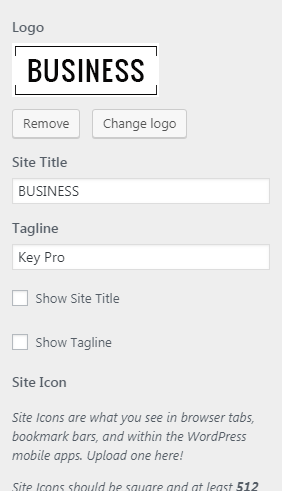
You can customize site identity like Logo, Site Title, Site Tagline and Site Icon.
- From Customize section, go to Site Identity.
- You can see following options.
- Logo: You can add your logo for your site.
- Site Title: It changes the main site title.
- Tagline: It changes the site tagline (description) of the site.
- Site Icon: The Site Icon is used as a browser and app icon for your site. Icon must be square, and at least 512px wide and tall.
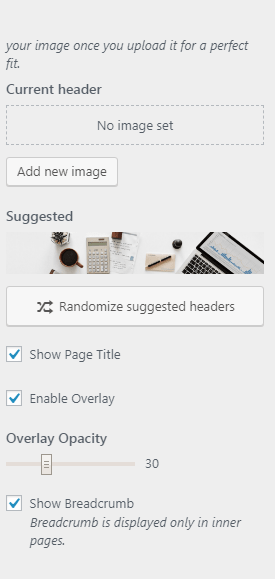
Header Image
- From Customize section, go to Header Image.
- From Header Image Options, you will see Current Header & Suggested Options sections. Note: Header image applies to all pages except front page.
- Current header: Upload your desired header image. If the preview is fine, click on Save and Publish to apply recently uploaded Header image.
- Suggested: You can even use the suggested header image if you dont want to upload other image.
Theme Options
You can customize this theme using cool additional features through Customizer at Appearance -> Customize from your WordPress Dashboard.
- From Customize section, go to Theme Options.
- From Theme Options, you will see different sections. They are:
- Design Options
- Font Family Options
- Header Options
- Social Options
- Layout Option
- Blog Options
- Related Posts Options
- Footer Options
- WooCommmerce Options (Only if WooCommerce is active)
How change Color Scheme Options?
Theme has 12 different color schemes you can choose the best color which you like.
- To change the colors, go to “Appearance -> Customize -> Theme options -> Design options -> Color Scheme”, choose color scheme and then click on “Save & Publish”
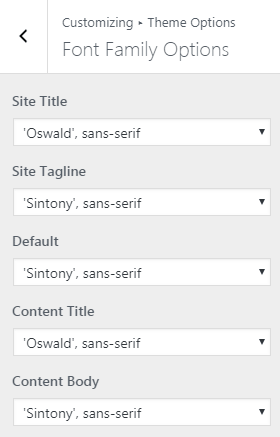
How to change Font Family Options?
- From Customize section, go to Theme Options.
- From Theme Options, you will see Font Family Options.
- Here you will see:
- Site Title: You can change the site title font form here.
- Site Tagline: You can change the site tagline font from here.
- Default: You can change the default font from here.
- Content Title: You can change the content title form here.
- Content Body: You can change the content body font from here.
- Heading Tags: You can change the heading from here.
- Navigation: You can change the navigation menu font from here.
Header Options
- From Customize section, go to Theme Options.
- From Theme Options, you will see Header Options.
- In Header Options you will see:
- Header Layout 1 / Header Layout 2 / Header Layout 3 / Header Layout 4
- Make Primary Menu Sticky: To make the primary menu sticky.
- Contact No Text: From here you can write the Contact No.
- Contact Email Text: From here you can write Contact Email
- Show Cart Icon : To enable Cart Icon form in header.

Social Options
- From Customize section, go to Theme Options.
- From Theme Options, you will see Social Options.
- You can put you social media links: eg. https://facebook.com/example
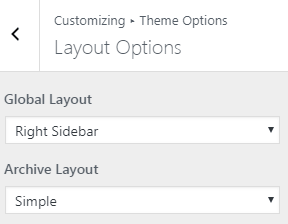
How to set Layout Options?
- From Customize section, go to Theme Options.
- From Theme Options, you will see Layout Options.
- In Layout Options you will see:
- Global Layout: This is for theme global layout. Here you can see different options select one that you would prefer.
- Archive Layout: This options is for archive content layout. Select option that suits your site.
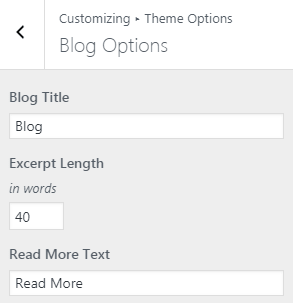
How to set Blog Options?
- From Customize section, go to Theme Options.
- From Theme Options, you will see Blog Options.
- In Blog Options you will see:
- Blog Title: It allow to change the blog title.
- Excerpt Length: Enter excerpt length in words.
- Read More Text: You can change text for Read More form here.
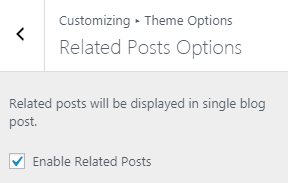
How to use Related Posts Options?
- From Customize section, go to Theme Options.
- From Theme Options, you will see Related Posts Options.
- In Author Bio Options you will see:
- Enable Related Posts – Related posts will be displayed in single blog post.
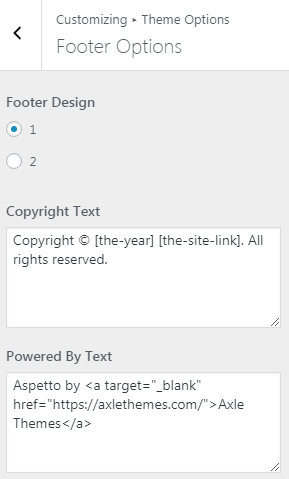
How to set Footer Options?
- From Customize section, go to Theme Options.
- From Theme Options, you will see Footer Options.
- In Footer Options you will see:
- Footer Design
- Design 1
- Design 2
- Copyright Text: From here you can write the copyright text for your site.
- Powered By Text: From here you can write the powered by text for your site.
- Go To Top: This option enables the go to top icon in the site.
- Footer Design
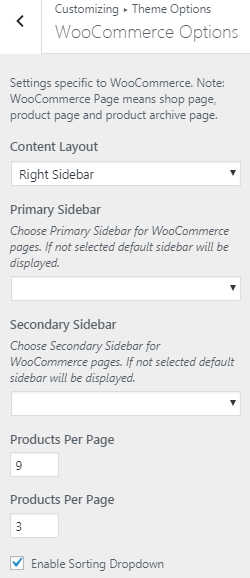
WooCommerce Options
Theme provides WooCommerce related options like, sidebar layout, products per page, products per row, enable/disable product sorting dropdown, etc.
How to use static front page?
- From Customize section, go to Static Front Page.
- From Static Front Page, You will be able to set any page as A Static page and you will find Your Latest Posts page option as well
Additional CSS
You can add your custom CSS that will overwrite the theme CSS for further design customization through “Appearance -> Customize -> Additional CSS”, in your WordPress Dashboard.